


How to Knock In a Cricket Bat
How to Knock In a Cricket Bat
Knocking-in prepares a new English willow cricket bat for match use by compressing the wood fibres so they’re tougher and less likely to crack under impact. Without this step, the face and edges are vulnerable to seam marks, dents, and early splits. The process is usually completed by hand, using a mallet and should always be finished with gentle practice against old balls to condition the hitting area. Every new English willow bat should be properly knocked-in before facing a new, hard ball to maximise durability and performance from day one.
Quick Start: The Fastest Way to Knock In a Cricket Bat Safely
The safest way to knock in a bat is by using a bat mallet. This method gradually compresses the willow with controlled, even strikes over several short sessions, rather than a single long session. If the bat appears dry or if the manufacturer advises it, apply a light touch of linseed oil beforehand. Once the mallet work is complete, finish the process with progressive throw-downs using an old leather ball to prepare the bat for match conditions.
Do’s:
-
Do use a bat mallet - it’s safer and more controlled
-
Do work in short sessions for even compression
-
Do concentrate on edges and toe - these are the most vulnerable parts of the bat.
-
Do apply a thin layer of linseed oil if needed, follow maker advice
-
Do increase impact gradually - build up to harder strikes over days
-
Do finish with progressive throw-downs, starting slow and slowing increasing pace
-
Do use ExtraTec face sheets and fibreglass sleeves to shield the bat’s surface from excess wear.
-
Do apply Shoe Goo or toe guards to protect the toe from moisture, chips, and damage.
Don’ts:
-
Don’t smash the bat with heavy blows early
-
Don’t over oil or soak the bat
-
Don’t focus strikes on one area; spread the hits evenly
-
Don’t take a brand new bat into match play with a hard ball - always finish knocking in with throw-downs.
Knocking in is about gradually compressing the fibres of the bat face and edges to prepare the willow for the repeated impact of a cricket ball. Done correctly—with short, even mallet sessions, proper resting periods, and sensible finishing with throw-downs—it strengthens the bat, reduces the risk of cracks or dents, and extends its lifespan. Following the do’s and avoiding the don’ts ensures your bat is safe, durable, and truly match-ready.
Do You Really Need to Knock In a Cricket Bat?
When buying a new cricket bat, players often notice terms like “pre-prepared” or “pre-knocked” on the label and assume the bat is ready to use straight away. While these factory treatments provide a useful head start, they do not eliminate the need for proper manual knocking in—especially for English willow bats. Understanding why some bats require extra preparation while others differ helps players protect the longevity of their bat and ensure consistent performance on the field.
English Willow – Requires Full Knocking In
-
English willow is prized for its performance but has a soft, fibrous grain structure that makes it vulnerable to cracking, denting, or splitting. Even when sold as “pre-prepared” or “pre-knocked,” the treatment is usually only partial, meaning the fibres deeper within the bat still need careful manual compression. Proper knocking in with a mallet ensures the grains are hardened evenly across the face, edges, and toe, giving the bat the durability and longevity it needs to withstand the impact of a hard leather ball.
Kashmir Willow and Factory Knocked-In Bats
-
Kashmir willow is naturally denser and harder than English willow, which means it is less prone to early damage and generally requires less preparation. Similarly, bats labelled “factory knocked-in” or “pre-prepared” have already undergone partial pressing or surface hardening at the manufacturer. However, in both cases, some additional surface hardening with a bat mallet is still beneficial. A short knocking-in process strengthens the face and edges further, reducing the risk of cracks and extending the bat’s usable life, even if the overall preparation time is shorter than that required for English willow.
Step-by-Step Guide: How to Knock In a Cricket Bat Properly
Preparing a new cricket bat properly is essential to maximise its performance and protect it from early damage. While factory preparation can give players a head start, most bats still need a structured knocking-in process before they are ready for match conditions. The safest and most effective approach is to break the preparation into clear stages—oiling, mallet work, soft ball sessions, and hard ball testing—each designed to condition the willow gradually and ensure the bat develops the strength and resilience needed for long-term use.
Step 1 – Apply Linseed Oil (If Required)
-
Purpose: Maintain the natural moisture of the willow and prevent it from drying out or cracking.
-
How to: Apply a very thin coat of raw linseed oil to the face, edges, and back (avoiding the splice and stickers). Use a soft cloth or fingertips to spread evenly.
-
Drying: Leave the bat horizontally in a cool, dry place for 24 hours. If the willow looks especially dry, apply one more thin coat.
-
Do not: Over-oil, soak the bat, or leave it in direct sunlight/near heat. Too much oil weakens the wood.
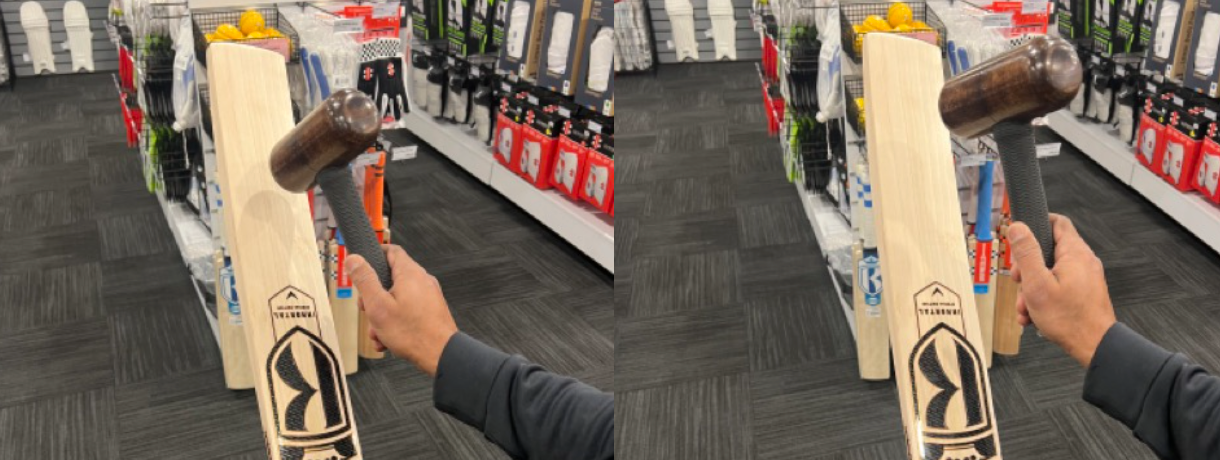
Step 2 – Mallet Knocking
-
Purpose: Compress and harden the willow fibres, especially on the face, edges, and toe.
-
How to:
-
Start with gentle, even taps across the face for 15–30 minutes.
-
Progress to the edges and toe with angled strikes, but never directly on the corners.
-
Increase force gradually over several sessions (totaling 6–10 hours).
-
Rest the bat overnight between sessions to allow fibres to stabilise.
-
Tip: Use a bat mallet or an old ball fixed to a handle — never a brand-new hard ball.

Step 3 – Play With an Old Soft Ball
-
Purpose: Transition from mallet strikes to real ball impact in a controlled way.
-
How to:
-
Start with throw-downs using an old leather ball or a soft practice ball.
-
Gently hit 50–100 balls, focusing on the middle and avoiding full-blooded drives at first.
-
Increase pace and power gradually across multiple sessions.
Tip: This stage helps you spot weak spots and gives confidence before moving to harder impacts.
Step 4 – Test With a New Ball
-
Purpose: Final check that the bat is ready for match conditions.
-
How to:
-
Face throw-downs or net sessions with a standard match ball.
-
Start slowly, then build up to full shots.
-
Pay attention to sound and feel—if the bat dents or shows surface cracks, return to light mallet work before continuing.
-
Result: Once the bat consistently absorbs hard-ball impact without marking, it is fully match-ready.
By moving through oiling, mallet work, soft ball sessions, and hard ball testing, you gradually condition the willow for the stresses of cricket. This careful preparation reduces the risk of early damage, extends the bat’s life, and ensures optimal performance from the first innings.
Common Knocking-In Mistakes to Avoid
Even with the right stages, mistakes during preparation can shorten a bat’s life. Be mindful of these errors:
-
Skipping oiling when the willow is dry, leaving the bat vulnerable to cracking.
-
Over-oiling, which softens the wood and makes it more susceptible to damage.
-
Using too much force too soon with the mallet, causing splits or dents before the fibres are ready.
-
Ignoring the toe and edges, the areas most vulnerable to damage in play.
-
Hitting directly on corners, which weakens and chips the bat.
-
Using a brand-new hard ball too early, before the fibres are conditioned.
-
Rushing the process instead of giving the willow time to rest and stabilise between sessions.
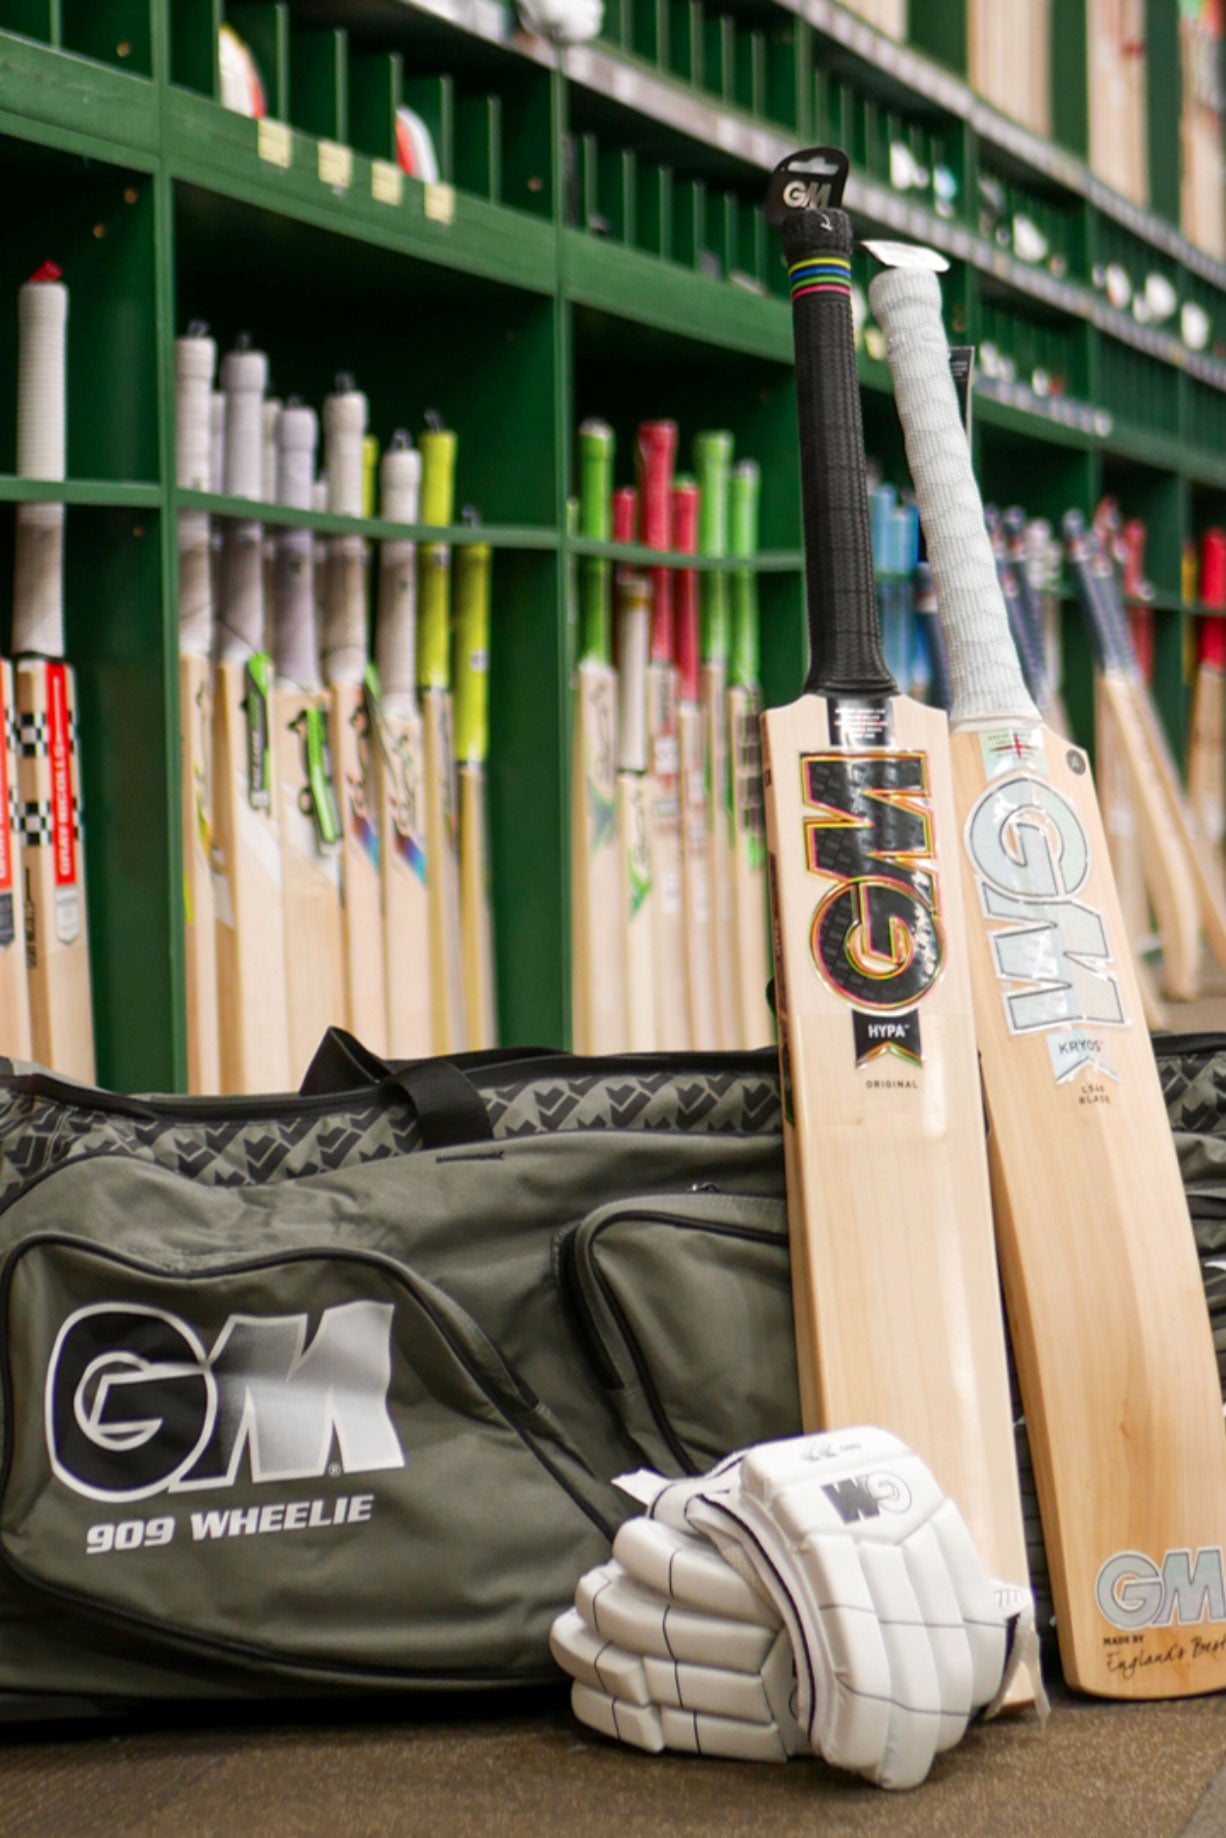
Knocking In Tools: What You Need and Where to Get Them
The right tools make knocking in both safer and more effective. Quality equipment ensures the willow is compressed evenly, while preparation services from cricket stores can save time and guarantee professional results. Below are some of the most reliable options, along with what each one does:
-
Kookaburra, Kingsport and Gray-Nicolls Bat Mallets – Specifically designed to mimic ball impact, these mallets allow you to apply controlled, even strikes across the bat face and edges without risking cracks or dents from a leather ball too soon.
-
Gray-Nicolls Oiling Kits – Complete kits with raw linseed oil and applicators for maintaining the right moisture balance in English willow bats. Light oiling prevents dryness and extends the life of the bat.
-
Toe Guards & Shoe Goo – Protect the vulnerable toe area from chipping, moisture damage, and abrasive playing surfaces.
-
Fibreglass Sleeves & ExtraTec Sheets – Added layers that protect the face and edges from wear and surface cracks.
-
Professional Preparation Services (available at Kingsgrove Sports) – Many retailers offer in-house knocking-in, to give players a bat that’s closer to match-ready. This can be a good option if you’re short on time or want the confidence of a professional finish.
Bat Mallet – Manual Method for Control
A bat mallet is the standard and safest tool for knocking in, giving players complete control over how the willow is compressed. Unlike using a ball too early, the mallet allows gradual, even strikes across the face, edges, and toe without risking premature cracks. By spreading the workload across short, controlled sessions, the mallet ensures the fibres harden properly, extending the bat’s lifespan and preparing it for match conditions.

Machine Knocking Services
Many specialist cricket stores offer machine knocking-in as a convenient alternative to manual preparation. These machines use controlled pressure rollers or mechanical mallets to compress the bat face and edges evenly, simulating the repeated impact of ball strikes in a quicker and more consistent way.
However, there are limitations to machine preparation. The process often compresses only the surface layer of the willow, leaving deeper fibres less conditioned. Edges and the toe, which are high-stress areas, may not receive the same careful attention as with manual mallet work.
Even after machine knocking, most bats still benefit from finishing touches at home—such as light mallet work on the edges and toe, followed by soft ball sessions to complete the preparation. While not a replacement for manual care, machine knocking is a practical option for players who are short on time and want their bat closer to match-ready.
Pre-Knocked or Ready-to-Play Bats – Can You Skip Knocking In?
Modern bats are often advertised with terms like pre-knocked, pre-prepared, or match-ready, but these labels can be misleading. Pre-knocked or pre-prepared usually means the bat has undergone some machine pressing or light surface knocking at the factory. This gives the player a head start, but the deeper fibres and vulnerable areas—like the edges and toe—still need careful manual attention.
A bat sold as “match-ready” has generally been pressed and finished to a higher standard, but even then, manufacturers often recommend some final mallet work and throw-downs before facing a new match ball. Skipping this step may shorten the bat’s lifespan or increase the risk of cracks under early use.
In short: factory preparation reduces the workload, but it rarely eliminates the need for finishing touches at home. Spending a few extra hours on careful knocking in ensures the bat is truly conditioned for long-term performance.
Final Tips to Extend Your Bat’s Lifespan Post Knocking-In
Once a bat has been properly knocked in, ongoing care is essential to maintain its performance and longevity. Following a few simple maintenance practices will help protect the willow and ensure the bat serves you well season after season:
-
Regular light oiling – Apply a very thin coat of raw linseed oil to the face and edges every few months (or as the wood appears dry) to prevent cracking.
-
Use an anti-scuff sheet or ExtraTec – A protective face layer reduces surface wear and guards against small cracks.
-
Toe protection – Fit a toe guard or apply Shoe Goo to reduce damage from damp surfaces and abrasive pitches.
-
Avoid wet pitches – Playing in wet conditions softens the willow and can cause swelling, splitting, or warping.
-
Play sensibly – Avoid using the bat to dig out yorkers with the very edge or toe, as this places unnecessary stress on the weakest parts of the blade.
-
Check regularly – Inspect the bat for early signs of damage (small cracks, lifted grains, loose splice) and address issues promptly with tape, repair kits, or a professional service.
With consistent care, a well-prepared bat not only performs better but also lasts longer, giving you more value and confidence every time you step onto the field.
FAQs About Knocking In a Cricket Bat
How long does it take to knock in a cricket bat?
Knocking in a cricket bat is a gradual process, not something you finish in one sitting. On average, it takes:
-
6–10 hours of mallet work spread across several short sessions (e.g., 30–90 minutes each over 4–7 days).
-
Additional 1–2 hours of soft-ball throw-downs before moving to a new hard leather ball.
Can I use a hammer instead of a bat mallet?
Using a hammer is not recommended. Here’s why:
-
Uneven impact – A hammer has a smaller, harder striking surface that doesn’t mimic the rounded impact of a cricket ball. This increases the risk of creating dents or cracks in the willow.
-
Too much force – It’s easy to hit too hard with a hammer, especially in the early stages, which can split the fibres before they’ve been conditioned.
-
No ball simulation – A proper bat mallet (especially with a rounded head) is designed to replicate how a ball strikes the bat, preparing the fibres more realistically.
What happens if I skip knocking in?
If you skip knocking in, you’re essentially taking a brand-new, unconditioned bat straight into the stresses of match play — and that carries real risks:
-
Cracks and splits – The willow fibres haven’t been compressed, so the first few hard ball impacts can split the face or edges.
-
Dents and seam marks – A new leather ball can leave deep impressions, weakening the blade.
-
Reduced lifespan – A bat that could last years may fail within weeks or even a single game.
-
Warranty issues – Most manufacturers require proof of knocking in (manual or store service). If damage happens without it, the warranty may be void.
How do I know if my bat is ready for match play?
-
Surface hardening – The bat face feels smooth, firm, and shows no deep dents when tapped with a mallet or ball.
-
Edges & toe – Light strikes with a mallet or an old ball don’t leave seam marks, cracks, or excessive indentations.
-
Even response – The bat has a consistent, solid rebound across the middle when tapped.